Have you ever looked out at your patchy, brown lawn and wondered what it might be like to gaze upon a lush, green carpet of grass instead? If so, you’re not alone. Many of us have entertained that fantasy only to be confronted by the chilling reality of our existing lawn’s dreariness. But there’s hope on the horizon, my friend. The magic trick is called “laying sod,” and with a bit of effort (and perhaps some sweat), you can transform that scruffy mess into something truly magnificent.

What Is Sod, Anyway?
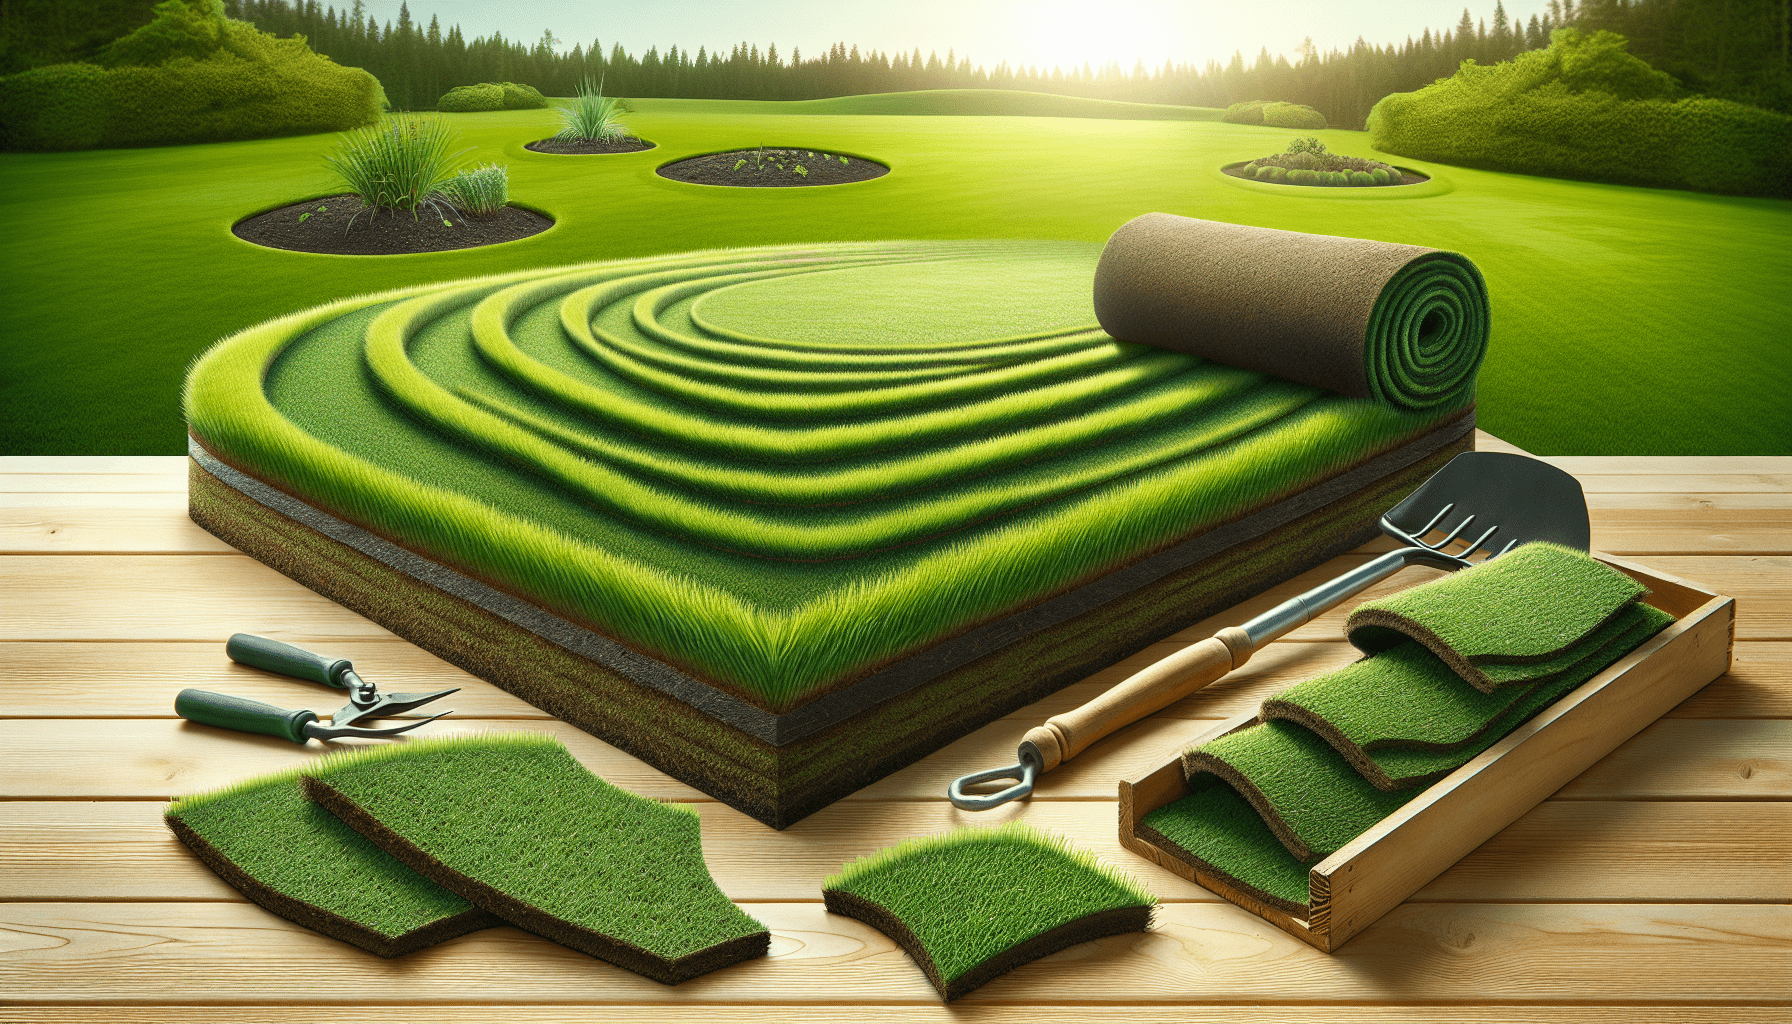
Before diving into the nitty-gritty, let’s get the basics straight. Sod is basically pre-grown grass and the section of soil beneath it, held together by the roots or a thin layer of biodegradable material. It’s like a grass carpet, if you will. Unlike starting from seed, laying sod gives you an instant lawn, and who doesn’t love instant gratification?
Planning Your Sod Project
Planning is the often overlooked step that could mean the difference between a green haven and a sorry landscape. Here’s your blueprint:
Measure Your Lawn
Break out your old friend, the tape measure, and jot down the length and width of your lawn. Multiply those dimensions to get the total square footage. This is crucial because it determines how much sod you’ll need.
Soil Test
Just when you thought you’d left all testing behind in school, you’re faced with this: a soil test. Knowing the pH and nutrient levels in your soil will help you treat it right before laying the sod. You can buy a simple kit or send a sample to a local lab for thorough analysis.
Choose Your Grass Type
Not all grass is created equal. Some prefer sun, others thrive in shade. Consider your local climate and the specific conditions of your yard when selecting your sod.

Preparing the Ground
Consider this the foundation of your soon-to-be glorious lawn. Skimp here, and you might as well throw in the towel.
Remove Old Grass and Weeds
Eradicate the old to make space for the new. You could use a sod cutter or plain old elbow grease to remove the existing layer of grass and weeds. This may take some effort, but remember, you’re aiming for perfection here.
Loosen the Soil
Your soon-to-be green paradise needs to breathe. Use a tiller to loosen the soil to a depth of about 6 inches. This step might make you feel like you’re working on an archaeology dig, but it’s essential for healthy root growth.
Rake and Level
Think of this as the spa treatment for your soil. Remove rocks, sticks, and debris, and then rake the soil to create a smooth, level surface.
Amend the Soil
According to your soil test results, add any necessary amendments like lime, sulfur, or organic compost. This boosts the soil’s fertility and adjusts the pH, making it an inviting home for your sod.
Ordering Your Sod
Timing is Everything
Order your sod when you’re ready to lay it within a day or two. It’s perishable, like that artisanal bread that looked so appealing when you bought it but went hard as a rock in 24 hours.
Delivery Concerns
If you’re not within a stone’s throw of Shelby County’s Lilly’s Landscape Supply, check their delivery area. They deliver within a 50-mile radius but can provide custom quotes for those further afield. Their sod is top-notch, and hey, supporting local businesses never hurts.

The Main Event: Laying the Sod
Here comes the exciting part—actually laying the sod. Picture yourself as a surgeon, delicately placing each strip of sod with precision.
Start at the Edges
To avoid awkward cut pieces on the perimeter, begin by laying full sod pieces along the longest straight lines, like driveways or sidewalks. This provides a clean, framed look to your lawn.
Stagger the Seams
Remember the brick walls of your childhood Lego fort? The same concept applies here. Stagger the seams of each row of sod to avoid creating long, visible lines that can lead to erosion issues.
Eliminate Gaps
Butt the edges of the sod strips tightly together without overlapping them. If you find yourself with small gaps, fill them with soil to prevent weeds from creeping in.
Cut to Fit
For oddly shaped areas or curves, use a sharp knife to trim the sod. Think of it as tailoring a suit; precision is key.
Roll the Sod
Finally, use a lawn roller to press the sod into the soil. This step helps to remove any air pockets and ensures good root-to-soil contact.
After the Installation
Don’t rest on your laurels just yet. Your new lawn needs a thorough aftercare regime.
Watering Schedule
Initial watering is crucial—soak your lawn immediately after installation and keep it consistently moist for the first two weeks.
| Timeframe | Action |
|---|---|
| Immediately After Laying | Water deeply to dampen soil beneath sod |
| First 2 Weeks | Keep soil consistently moist, watering daily |
| Weeks 3-4 | Reduce to every other day |
| After First Month | Transition to regular watering schedule, about 1 inch per week |
Fertilization
About 3-4 weeks after laying the sod, feed your new lawn with a balanced fertilizer to encourage root growth.
Mowing
Hold off until the grass is about 3 inches tall, then mow it to a height of 2 inches. Make sure your mower blades are sharp to avoid tearing the new grass.
Weed Control
Weeds may invite themselves to your new lawn party. Use a gentle herbicide or hand-pull intruders. Trust me, vigilant early maintenance will pay off huge dividends later.
Long-Term Lawn Care
Don’t want your lawn to become that former beauty queen who never got a touch-up? Routine care is paramount.
Regular Watering
Continue to provide about an inch of water per week, adjusting for rainfall. Overwatering and underwatering both have their pitfalls.
Seasonal Fertilization
A seasonal feed helps to keep your lawn’s vigor up. Follow a fertilization schedule suitable for your grass type.
Aeration
Once a year, usually in the fall, rent an aerator to poke holes in your lawn. It helps the roots get the oxygen, water, and nutrients they need.
Overseeding
In cooler climates, a spring or fall overseeding can thicken up your lawn, filling in any gaps or thinning areas.
Troubleshooting Common Problems
Even the best-laid plans can go awry. Keep an eye out for these potential pitfalls:
Yellowing Grass
If your grass starts to yellow, it might be too much or too little water, or possibly a nitrogen deficiency. Adjust your watering schedule or address with a nitrogen-rich fertilizer.
Brown Spots
Brown spots can be a sign of pests or disease. Identify the cause quickly and treat appropriately; whether it’s applying a fungicide or calling in an exterminator, action must be swift.
Weeds
Consistency is king here. A healthy, well-maintained lawn naturally repels weeds. Regular mowing, feeding, and occasional use of herbicides will keep them at bay.
The Final Word: Transforming Your Lawn
Some aspects of life are genuinely satisfying. Transforming a once-drab lawn into a verdant expanse falls into that category. The path might be a tad labor-intensive—think of it like training for a marathon but with more mud and less lycra. But the rewards? Ah, they’re immeasurable. Imagine enjoying your morning coffee while gazing out at your perfect green lawn, a gentle morning dew shimmering like diamonds in the sunlight.
And when friends and neighbors inevitably ask how you managed such a transformation, you can smile knowingly and hint at the arcane secrets of sod-laying prowess. Perhaps you’ll even direct them to Lilly’s Landscape Supply, the true hero in your landscaping saga. They have everything you need: top-quality soil, mulch, sand, gravel, pine straw, and stones, all ready to assist you from planning to execution.
In the end, it’s all worth it. So, roll up those sleeves, slip on some gloves, and get ready to embrace both the challenges and the triumphs of laying sod. Because you, dear reader, are on your way to creating a lush outdoor masterpiece. And trust me, there’s nothing quite like it.
